How to install Interactiv4.com extensions
30 Jul, 2013 / 2 MIN read
Frequently, as Magento users, we want to include new functionalities for our store. Most of the time, we will do it by installing an specific extension.
Due to our experience in technical support and the big number of installations done for numerous customers, we have detected that this process becomes a bit more complicated than we could think; many times customers don’t implement the installation correctly, other times it’s not an installation problem, etc.
We have been thinking in publishing this post in the blog some time, in order to explain with details the process you need to follow in case you want to install any of our extensions (the process would be the same for third parties extensions).
Pre-installation:
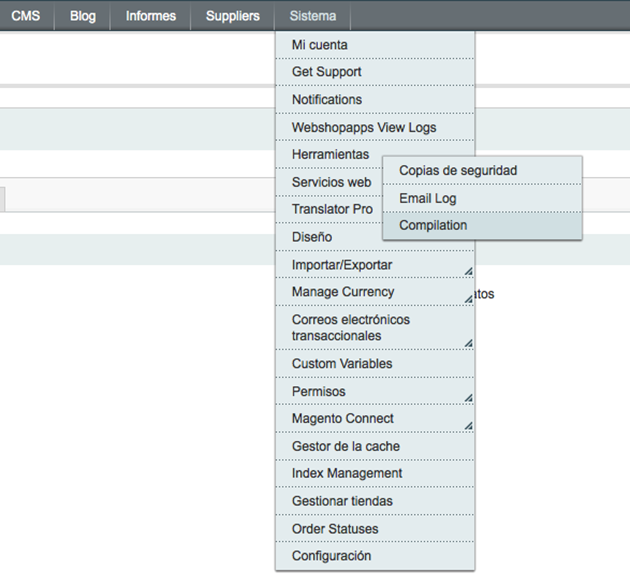
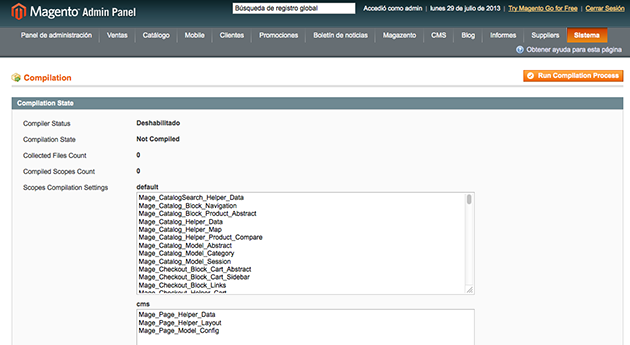
First of all you need to do a backup of both files and data base. After that you need to check if the compilation of your store is activated, and in case it is, you must disable it.
To do it you have to go to: System → Tools → Compilation.
Installation:
Usually with all FTP clients we have an option to mix the content of the folders in case that in destination path already exists another folder with the same name that the one we want to import.
Anyway, I’m going to explain Magento folders’ structure to set a good basis.
Imagine an extension with the following content:
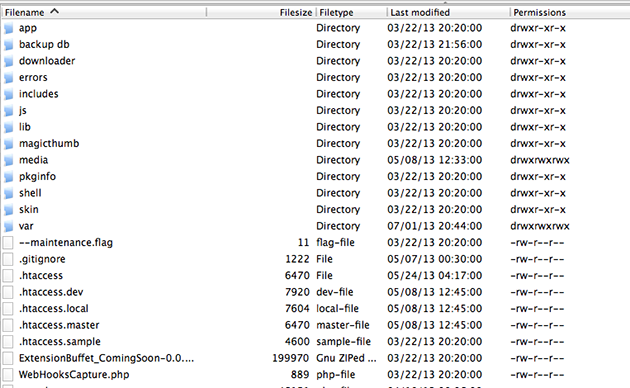
And any Magento installation:
What we have to do is combine the content of our extension with the content of our store files. This means that we don’t want to replace our extension “app” folder by the “app” folder that already exists in Magento installation. What we want to do in include the files of the extension inside the right folders. In this example we are installing an extension which only contents “app” and “skin” folders.
We want to include the content of the extension “app” folder inside the content of the Magento installation “app” folder and, in the same way, the content of the extension “skin” folder inside the content of the Magento installation “skin” folder, always combining both contents.
We don’t want to replace folders.
Post-installation:
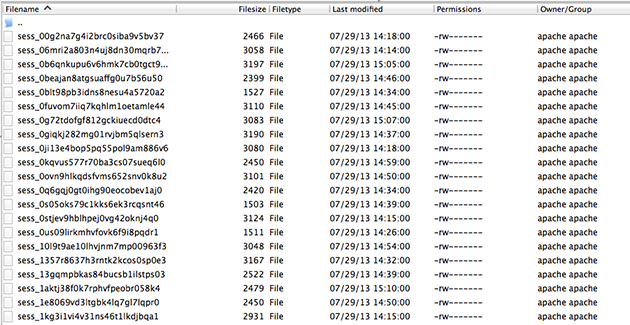
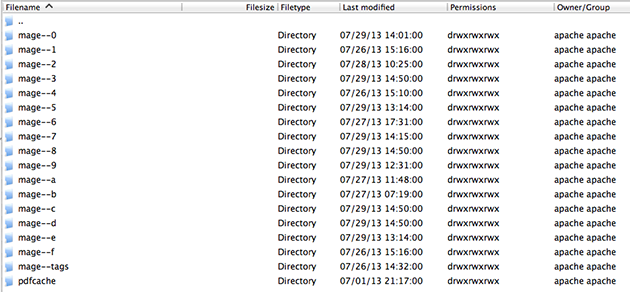
At this point the only thing we have to do is clear caches and sessions. To do it we just have to go to “var/cache” and “var/session” folders and delete the content of both.
Var/cache content:
Var/session content:
Just in case the compilation was previously active, we have to follow theses steps:
- Run again the compilation process (in order to compile the extension files we want to install) and activate the compilation again.
- If at this point the installation seems to be incomplete, we must clear cache and sessions again and reset the admin.
If you have followed these steps and no misfortune happened, then we have our installation correctly deployed.
Hope we’ve helped you.


